


Hey there, art enthusiasts! If you're like me, you're always on the lookout for cool and creative DIY projects. And what better way to get crafty than by using an empty gin bottle? As a supplier of empty gin bottles, I've seen firsthand the amazing potential these bottles have for artistic endeavors. Today, I'm going to walk you through the process of layering sand in an empty gin bottle to create a stunning piece of art.
Why Use an Empty Gin Bottle?
First off, let's talk about why an empty gin bottle is such a great canvas for your art. Gin bottles come in all sorts of shapes and sizes, from sleek and modern to ornate and vintage. Their unique designs add an extra element of interest to your sand art. Plus, using an empty gin bottle is a great way to upcycle and give new life to something that would otherwise end up in the trash.
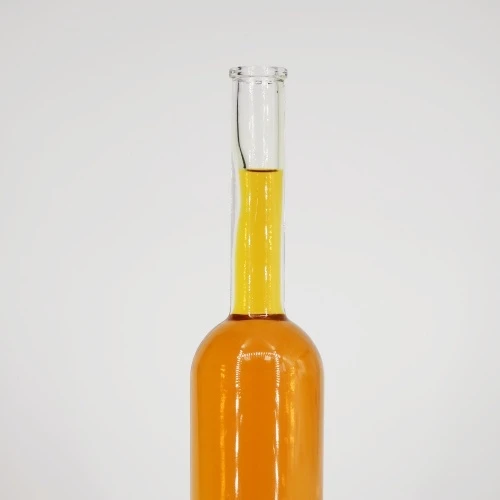
We offer a variety of empty gin bottles, like the Gin Crystal Decanter, which has a beautiful, faceted design that catches the light. The 500ml Gin Bottle With Decal is another great option, with its eye-catching decal adding a touch of style. And if you're looking for something simple and classic, the 700ml Clear Gin Bottle is perfect.
Gathering Your Materials
Before you start layering sand in your gin bottle, you'll need to gather a few materials. Here's what you'll need:
- Empty gin bottle: As I mentioned earlier, we have a great selection of empty gin bottles to choose from. Make sure the bottle is clean and dry before you start.
- Sand: You can use a variety of different types of sand for your project, such as colored sand, play sand, or even sand from the beach. You'll want to have at least three different colors of sand to create a layered effect.
- Funnel: A funnel will make it easier to pour the sand into the bottle without making a mess.
- Paper or cardboard: You can use a piece of paper or cardboard to create a chute for the sand to slide down into the funnel.
- Tweezers or a toothpick: These will come in handy for moving the sand around and creating different patterns.
Preparing Your Gin Bottle
Once you have all your materials, it's time to prepare your gin bottle. Start by removing any labels or stickers from the bottle. You can use a hairdryer to heat up the labels and make them easier to peel off. Then, wash the bottle with warm, soapy water and rinse it thoroughly. Let the bottle dry completely before you start adding the sand.
Layering the Sand
Now comes the fun part - layering the sand! Here's a step-by-step guide on how to do it:
- Start with the first layer: Take your funnel and place it in the opening of the gin bottle. Use your paper or cardboard chute to pour the first color of sand into the funnel. Start with a small amount of sand and gradually add more until you have a layer that covers the bottom of the bottle. You can use tweezers or a toothpick to smooth out the sand and make it even.
- Add the second layer: Once the first layer is in place, it's time to add the second color of sand. Repeat the process of pouring the sand into the funnel using the chute. This time, try to pour the sand in a different pattern or direction to create a more interesting effect. You can also use tweezers or a toothpick to create swirls or other designs in the sand.
- Continue layering the sand: Keep adding layers of sand in different colors and patterns until you're happy with the way your bottle looks. You can experiment with different combinations of colors and textures to create a unique and personalized piece of art.
- Seal the bottle: Once you've added all the layers of sand, it's time to seal the bottle. You can use a cork or a stopper to close the opening of the bottle. Make sure the cork or stopper fits tightly to prevent the sand from spilling out.
Tips and Tricks
Here are a few tips and tricks to help you create the perfect sand art in your gin bottle:
- Use a steady hand: Pouring the sand into the bottle can be a bit tricky, so it's important to have a steady hand. Take your time and be patient, and you'll be able to create smooth, even layers of sand.
- Experiment with different colors and textures: Don't be afraid to get creative and try different combinations of colors and textures. You can use glitter, sequins, or other small objects to add an extra element of interest to your sand art.
- Create different patterns: You can use tweezers or a toothpick to create different patterns in the sand, such as swirls, waves, or stripes. Get creative and have fun with it!
- Let the sand settle: After you've added each layer of sand, let it settle for a few minutes before adding the next layer. This will help prevent the sand from mixing together and creating a messy look.
Displaying Your Sand Art
Once you've finished creating your sand art in the gin bottle, it's time to display it. You can place the bottle on a shelf, a table, or a windowsill where it will catch the light and show off your beautiful creation. You can also give it as a gift to a friend or family member - they're sure to love it!
Conclusion
Layering sand in an empty gin bottle is a fun and easy DIY project that anyone can do. With a little creativity and some basic materials, you can create a stunning piece of art that will add a touch of style to any room. And as a supplier of empty gin bottles, we're here to help you get started. If you're interested in purchasing empty gin bottles for your next art project, please don't hesitate to contact us. We'd love to work with you and help you bring your creative vision to life.

References
- Smith, J. (2023). DIY Sand Art Projects. Craft Magazine.
- Johnson, A. (2022). Upcycling Empty Bottles into Art. Green Living Journal.


